When you rent a waste bin, rain, snow, or excess moisture might not be your first concern. After all, most people focus on filling the bin and getting the job done.
However, keeping water out of your rental bin is more important than you might realize.
When water seeps in, it can quickly add unnecessary weight, leading to higher disposal costs. It can also damage materials that could otherwise be recycled, cause soggy messes that are difficult to handle, and create strong odours that make the area unpleasant to work around.
In some cases, excess water can even cause safety issues during transport or lead to contamination if it mixes with certain types of waste.
Taking a few simple precautions to keep your bin clean, dry, and easy to manage is more than worth the effort. This guide offers practical, real-world tips for homeowners and contractors alike, from how to properly cover your bin and maintain good drainage to where to place the bin on your property or job site. By following these steps, you can prevent water from becoming a problem, saving yourself time, money, and frustration.
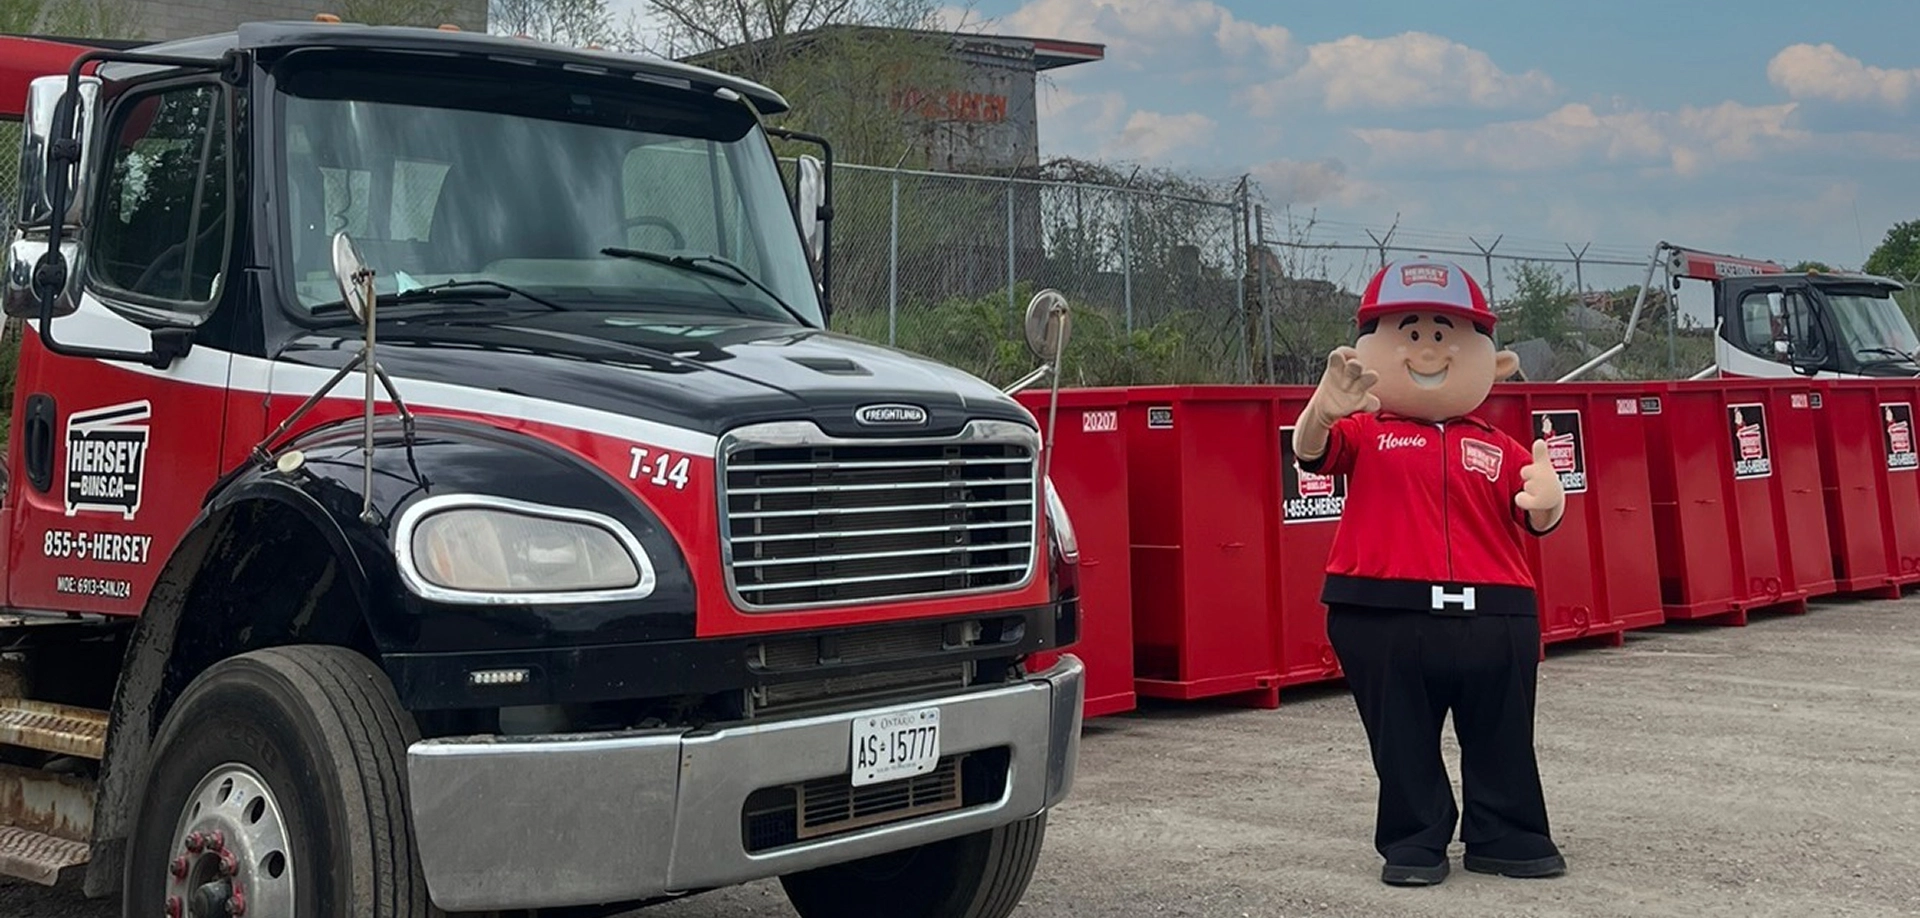
Whether you’re starting a home renovation, clearing out a property, managing a demolition, or taking on a junk removal project, Hersey Bins is here to help. Ontario weather can be unpredictable and present many challenges. With our advice and our support, you can keep your site clean, organized, and free from water-related concerns.
Tips on How to Keep Water Out of Your Rental Bin
Choose the Right Location for Your Rental Bin
The first line of defence against water seepage starts with where you place your bin.
Try to place your waste bin rental on slightly higher, well-drained ground so that rainwater and runoff naturally flow away instead of collecting inside or around it. Avoid low areas or dips in the ground where water tends to pool after a storm.
Avoid placing your rental bins directly beneath roof eaves, downspouts, or sump pump discharge lines. Water streaming off roofs can quickly fill the bin during a storm. Likewise, keep clear of areas where snow piles may melt and drain toward your bin.
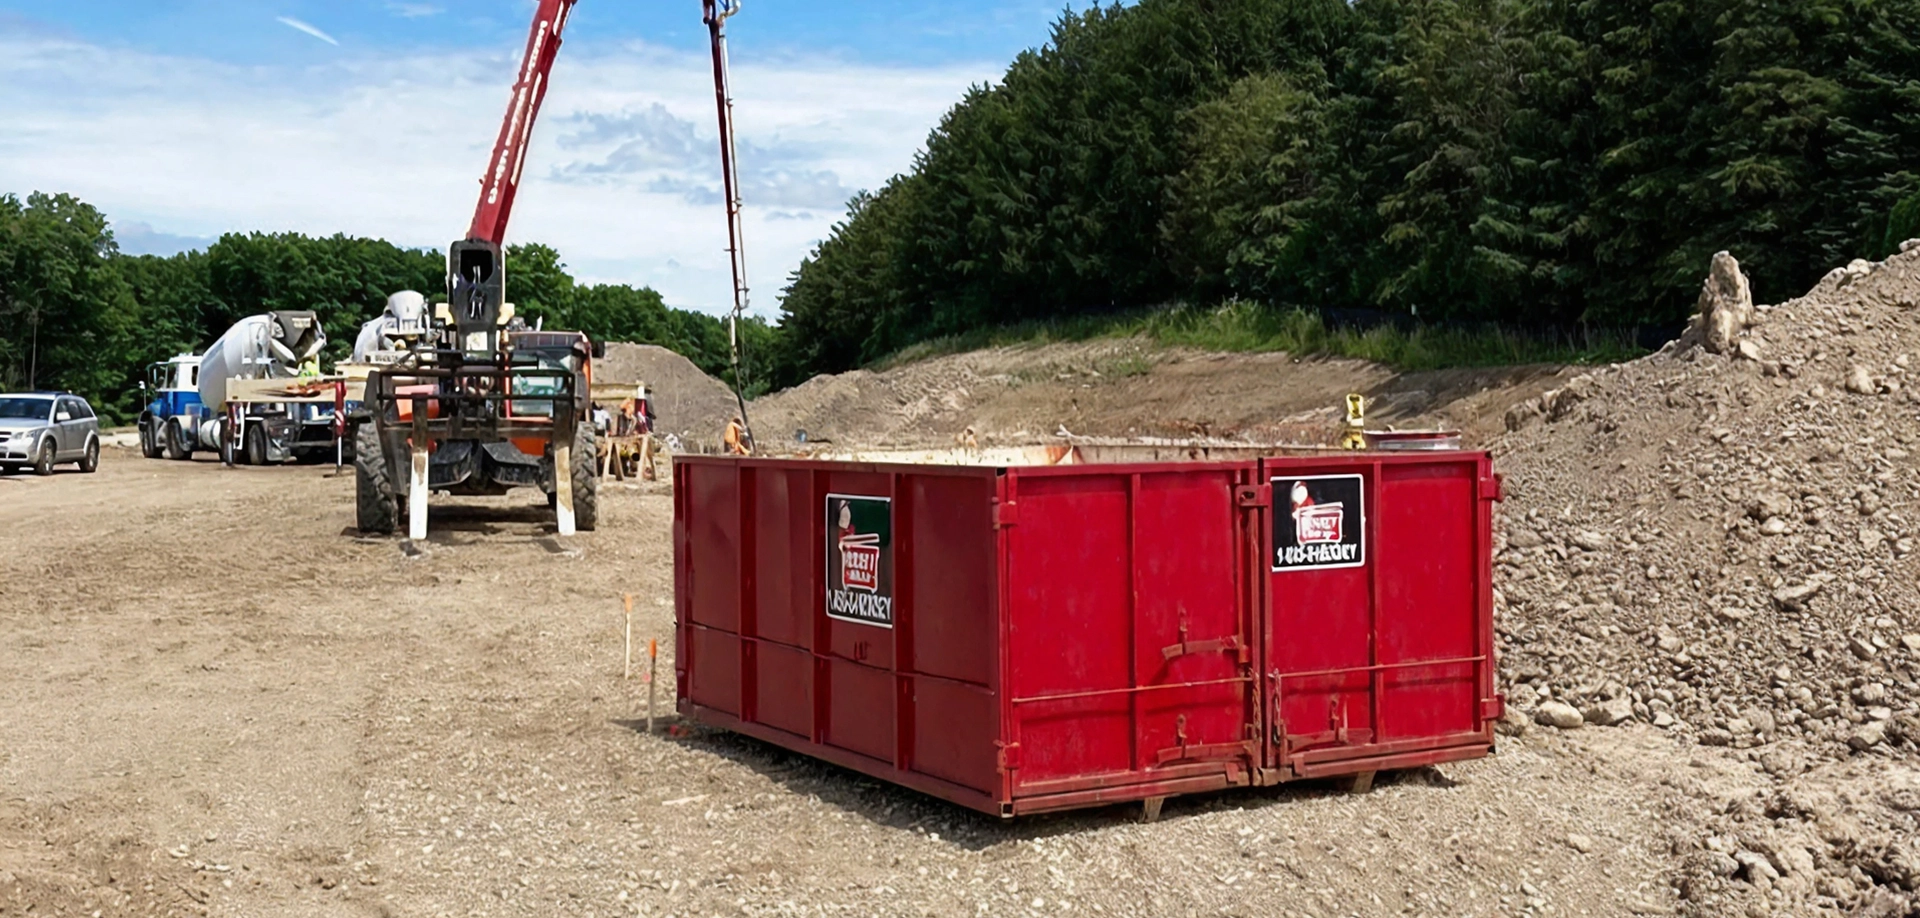
If you’re working at a construction site, don’t position the bin near concrete washout zones or dewatering areas, these are prone to saturation and pooling.
Ensure that your bin remains accessible for pickup and drop-off. Avoid soft lawns or unpaved surfaces that can rut, sink, or trap water.
Hersey Bins tip: Our team can advise on the best placement for drainage and truck access during delivery. We’ll help you select a secure spot that supports both efficiency and water control.
Covering Your Rental Bins: Tarps, Lids, and Securement
Once your bin is properly placed, the next step is to protect the opening. Covering your bin is one of the simplest and most effective ways to prevent water accumulation.
Use Heavy-Duty Tarps Correctly
A waterproof tarp is your best friend when it comes to keeping moisture out. Choose a heavy-duty, UV-resistant tarp that overlaps the bin’s edges. Secure it tightly using ratchet straps or bungee cords through the grommets, ensuring there’s no loose flapping.
To prevent water from pooling on top, create a slight “peak” by propping a 2×4 or a step ladder under the centre of the tarp. This simple slope encourages water to run off rather than collect.
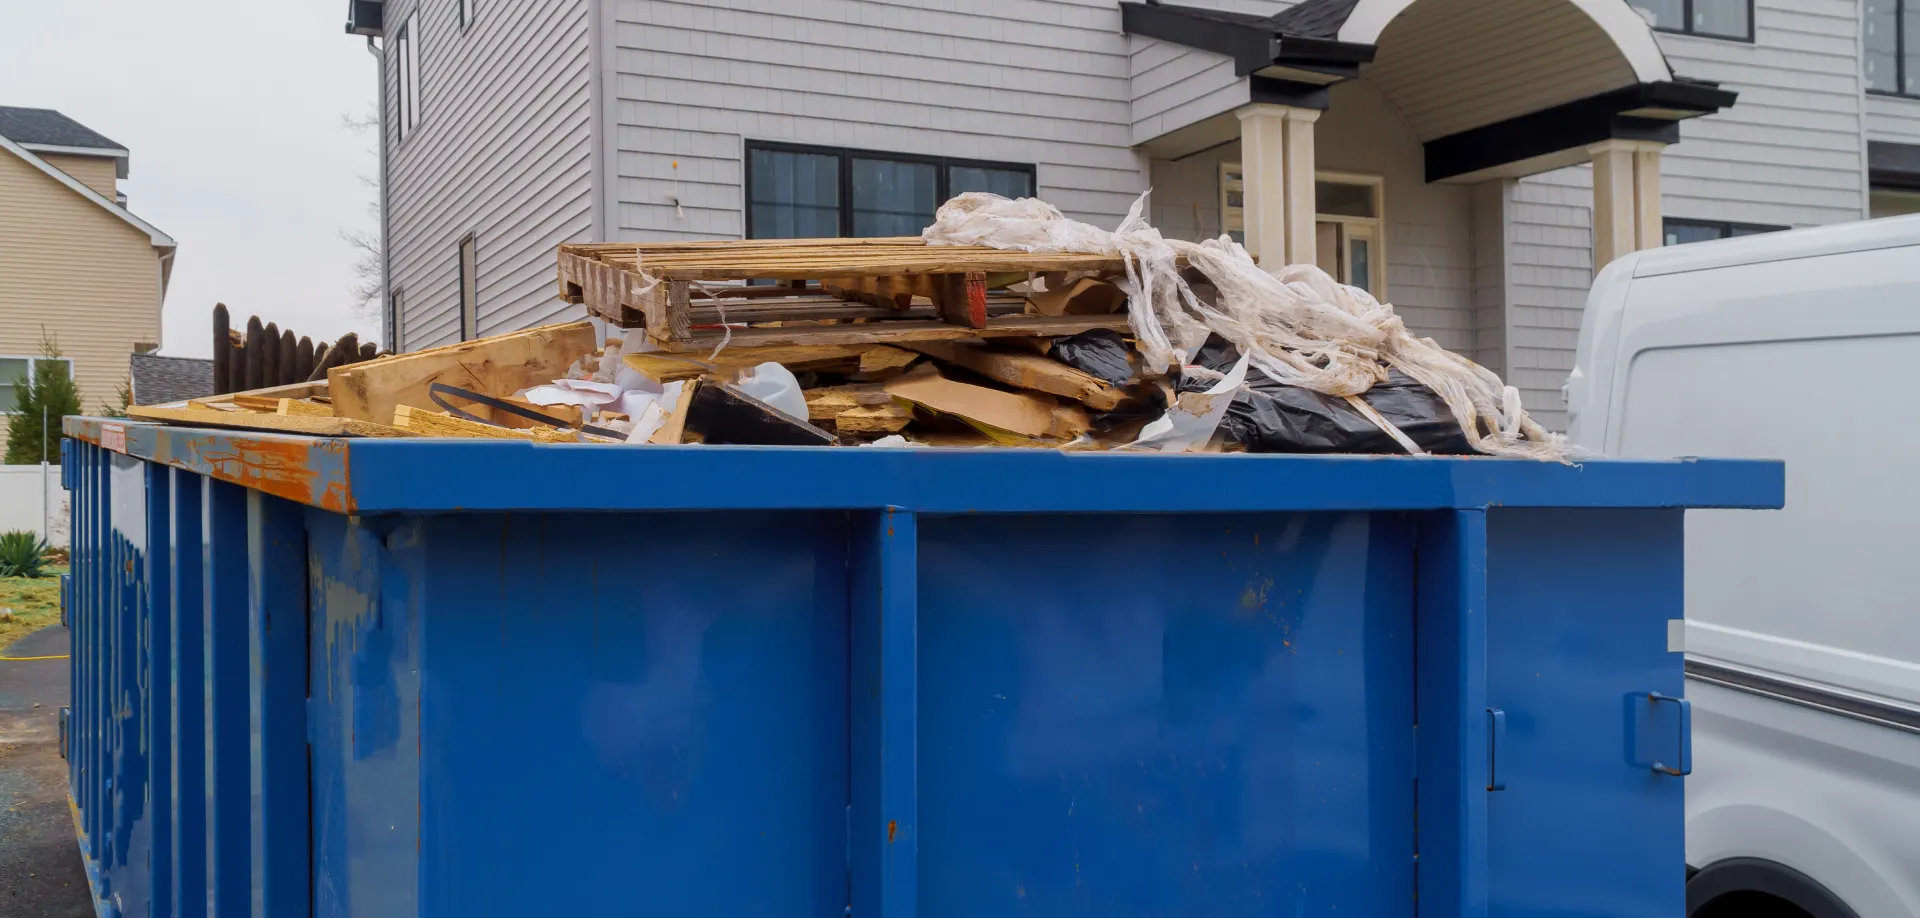
Tarps are especially useful for open-top bins like the 7-yard (10’ L x 8’ W x 2.5’ H), 10-yard (10’ L x 8’ W x 4’ H), and 15-yard (11’ L x 8’ W x 5’ H) models, ideal for small to mid-sized renovation or junk removal bin rentals.
For larger construction waste bins (20-yard: 14’ L x 8’ W x 5’ H) and demolition bin rentals (40-yard: 20’ L x 8’ W x 8’ H), ensure the tarp fully spans the top and is securely weighted or strapped along the sides to withstand wind and debris.
Take Advantage of Bin Lids (When Available)
If your trash bin rental includes a lid, always close it when the bin is not in use, particularly before rain or snow is expected. Check that hinges, lock bars, and seals are in good condition, and use a padlock if necessary to prevent unauthorized access or accidental opening.
During severe weather, double up with both a lid and a tarp for extra protection. Re-tighten straps after high winds and clear snow promptly so meltwater doesn’t seep into your bin.
Maintain Proper Drainage Around the Bin
Even the best tarp won’t help much if the area around your bin collects water. Good drainage is essential to keeping your garbage bin rental dry and functional.
Before delivery, inspect your chosen area and make adjustments if necessary:
- Grade or slope the surface slightly so that water flows away from the bin’s base.
- Keep nearby drains, catch basins, and gutters clear of debris.
- On soft or muddy ground, lay down compacted gravel or mats to provide a stable surface and prevent rutting.
- Use temporary splash blocks or diverters to reroute downspouts away from your bin.
Hersey Bins tip: We set bins on wooden blocks to protect driveways and surfaces while improving airflow and drainage beneath. This small detail goes a long way in preventing water buildup under and around your bin.
Ventilation and Moisture Control Inside the Bin
Ventilation is another often-overlooked factor in managing moisture. Allowing airflow inside your rental bins when the weather is dry helps reduce humidity and discourage mold or mildew, especially when disposing of items that can absorb water.
Keep absorbent materials like cardboard, drywall, or insulation off the bin floor by stacking them on wooden pallets. This ensures any incidental moisture remains below the material.
Avoid bagging wet materials whenever possible, let them drain first. For particularly sensitive loads or long-term rentals, consider placing desiccant packs or moisture absorbers inside the bin for extra protection.
When rain is forecasted, secure the lid or tarp tightly to block direct water entry, then reopen for ventilation once conditions improve.
Smart Loading Strategies to Minimize Water Intrusion
How you load your bin plays a big role in keeping it dry. A well-packed bin not only prevents water infiltration but also ensures safe transport and compliance with weight limits.
Start by placing heavier, non-absorbent materials like metal, concrete, or stone at the bottom. Stack lighter, absorbent materials such as cardboard, drywall, insulation, and textiles higher and toward the centre, where they’ll be better protected under the tarp or lid.
Avoid overfilling above the rim. Overhanging material prevents a tight tarp seal and can collect rainwater, leading to soggy debris and unnecessary extra weight.
Make it a habit to cover your bin after each loading session, not just at the end of the day. This “tarp-first” approach helps keep materials dry even if unexpected weather rolls in.
If your project involves separating wet and dry materials, such as during landscaping or mixed demolition, consider renting a second clean fill bin to better facilitate sorting. Keeping streams separate not only protects your recyclables but also helps avoid contamination fees.
Regular Inspections and Maintenance
Even with proper setup and covering, you’ll want to inspect your waste bin rental regularly to ensure it remains watertight and in good condition.
Perform quick daily checks for:
- Proper tarp tension and securement.
- Closed lids and locked bars.
- Signs of pooled water, loose straps, or damage from wind.
After major storms, remove any standing water from tarp peaks and retighten all securements. Sweep around the bin to remove debris or sediment that could block drainage paths.
Seasonal Tips for Ontario Weather
Southwestern Ontario’s climate presents unique challenges throughout the year, especially in areas like Kitchener-Waterloo and Guelph. By adapting your waste management approach seasonally, you can prevent water issues before they start.
Spring and Fall
Expect frequent rain and variable temperatures. Keep extra straps and a spare tarp on hand in case of damage. Re-secure covers daily and check for softening ground beneath your bin after heavy rainfall.
Summer
Afternoon thunderstorms can arrive suddenly. Close and secure your tarp or lid by midday if storms are forecast. If working outdoors, load and cover early to prevent materials from getting soaked.
Winter
Snow and ice bring their own problems. Brush off accumulated snow as soon as possible to prevent meltwater infiltration. Use salt or grit around the bin to maintain safe footing and encourage proper drainage.
Freeze-Thaw Cycles
During seasonal transitions, re-level your bin’s supports as the soil shifts. Boards or shims under the bin can move with repeated freezing and thawing, potentially affecting drainage. Check periodically to make sure they remain stable and there is no pooling water.
Safety, Compliance, and Cost Considerations
Water inside your trash bin rental can have more than just physical effects, it can also impact safety and compliance.
Wet materials add considerable weight, potentially exceeding disposal limits and leading to higher fees. Overweight bins also pose transportation risks for haulers and can violate local safety regulations.
Always respect weight limits and never overfill. Remember that liquids, paints, and other hazardous materials should never go into your bin, use approved disposal channels instead.
Material acceptance and weight limits can vary depending on your municipality. If you are not sure what is allowed in your bin, contact Hersey Bins and we will happily provide the necessary guidance. We’ll make sure your load complies with regional regulations, preventing fines or rejected loads.
When to Consider Permanent Dumpsters or Additional Bins
For ongoing business operations or long-term projects, a permanent dumpster may be a smarter investment. Permanent bins with lids provide continuous service while keeping waste dry between collections.
If your materials are mostly absorbent, like cardboard-heavy commercial waste, it’s often worth dedicating a covered bin to these items.
Hersey Bins tip: We provide both temporary trash bin rentals and permanent dumpsters, ensuring you always have the right solution for your needs. Our team can help you choose the right bin size, pickup frequency, and protection setup for your site.
Quick Checklist: Keep Water Out of Your Trash Bin Rental
- Place your bin on high, well-drained ground away from downspouts or low spots.
- Use a tight, peaked tarp or lid and secure with straps or bungee cords.
- Double-cover before storms with a lid plus tarp.
- Maintain clear drainage paths and elevate sensitive materials on pallets.
- Inspect daily and after storms for pooled water or loose coverings.
- Avoid overfilling. Cover after every loading session.
- Separate wet and dry materials; consider an additional bin if necessary.
Trust Your Waste Bin Rental to Hersey Bins
Keeping water out of your bin isn’t just about convenience—it’s about cost control, safety, and efficiency. By protecting your load from moisture, you’ll reduce disposal fees, preserve recyclable materials, and maintain a cleaner work environment.
At Hersey Bins, we understand how weather in Southwestern Ontario can challenge even the most careful homeowners and contractors. That’s why we go the extra mile to ensure every bin rental is delivered with attention to placement, protection, and long-term performance.
From small 7-yard bins to large 40-yard bins, our fleet is designed for everything from weekend cleanups to major construction projects and commercial waste management.
Need advice on placement, drainage, or the right bin size? Our team is always ready to help. Contact Hersey Bins today to get a quote or schedule your rental bin, and keep your site clean, dry, and efficient—no matter what the weather brings.